Settings
Adding and managing periods of unavailability
You’ll always need to block out time in the diary – that could be for catching up on admin, going to a meeting or having time off on holiday. We’ve made it much easier to add times when you’re not going to be available to see patients.
Adding
There are two ways to add a new unavailability:
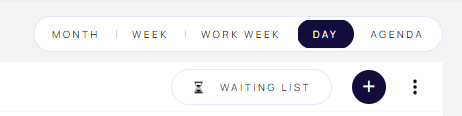
- From the Add menu by clicking the + symbol at the top right of the screen and then clicking Unavailability
- From the the three dots Manage menu next to the + symbol on the top right of the screen (visible on all screens except for Month and Agenda views) then:
- Click Unavailability
- Click Add Unavailability
However you access it you can then add the details.
- If you’re a practice with multiple practitioners, choose from the dropdown options – the name of a single practitioner will already be populated
- Choose the relevant Location
- Choose the start and end dates and times – there are two options:
- Click in the boxes and type
- Click the icon and pick the date and add the time – click OK
- Choose a reason from the dropdown list:
- Admin
- Holiday
- Meeting
- Other
- Add any notes e.g. address of where your meeting is or flight details etc
- Click Add
Managing
- Click the three dotted Manage menu on the top right of the screen (visible on all screens except for Month and Agenda views)
- Click Unavailability to view any times you’ve already blocked out
- To help find a specific unavailable session you can type the reason e.g. holiday, admin or the location name in the Search box – if you’re a practice you’ll first need to filter by practitioner
- Using the icons in the Action column you can make changes to an unavailable session at any time by clicking the pencil icon or click the dustbin icon to delete it

